
This page outlines the steps involved in resolving compatibility issues when upgrading from Windows 10 to Windows 11 on a FRA-SYS station. This page is only applicable to certain models, and only if the PC Integrity Check tool indicates a compatibility problem with Windows 11.
Interventions must be carried out by qualified personnel authorized by FRA-SYS. Unauthorized modifications may void the warranty. FRA-SYS declines all responsibility in the event of data loss or mishandling.
If you have any doubts or problems following these steps, please contact FRA-SYS technical service on 04 72 59 11 38 or sav@fra-sys.com.
Upgrade to WINDOWS 11

Windows 11 compatibility check

In the Start menu, search for PC Integrity Check, then select it from the list of results.
If a PC Integrity Check update is available, install it.
If you don't have PC Integrity Check installed, you can install it by going to https://aka.ms/GetPCHealthCheckApp and following the instructions to download and install the application.
The PC Integrity Check application enables you to carry out a full eligibility check on your device to ensure that it meets the minimum system requirements for Windows 11. You get information on why your device is eligible or not, as well as information on what you can do if your device doesn't meet the requirements.
Select Check now to see if your workstation is compatible with Windows 11.
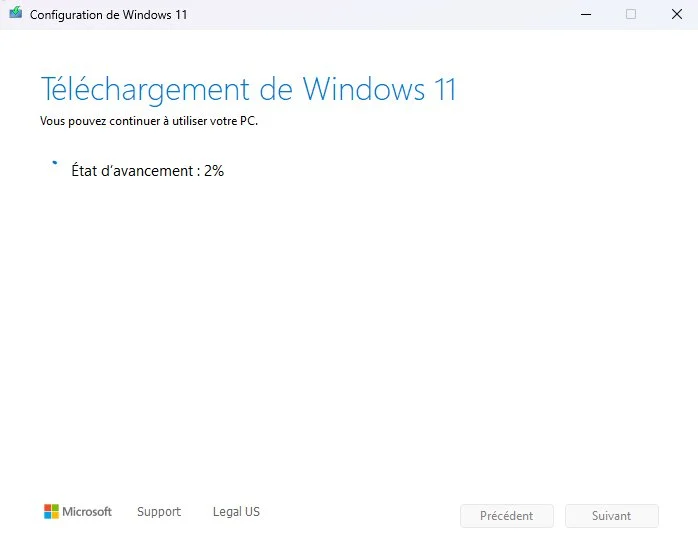
If no errors are reported, you can launch the Windows 11 upgrade wizard and follow the installation steps according to your needs.
In the event of errors, follow the guides below in order to resolve compatibility problems:
Disc format check
Preparing the installation base
CSM settings
TPM / fTPM activation
Disc format conversion
Disc format check
To check the format of your main disk, right-click on the Start menu and select Disk Management .
Right-click on Disk 0

Select Properties

Select the Volume tab and check Partition type

If your disk is in (GPT) format, you can proceed directly to step "4 - Setting up the CSM".
Otherwise, continue with step "2 - Preparation".
Preparing the installation base
To install Windows 11, you'll need at least 8 GB of USB installation media
(Please note that this USB key will be formatted when the tool is installed).

Go to: https://www.microsoft.com/fr-fr/software-download/windows11
and download the tool by clicking on the "Download" link in the Creating Windows 11 installation media section.
Once downloaded, run the program and follow the steps below to prepare the bracket.

Click on Accept

Select USB Flash Memory Disk

Select your USB drive

Check "Use options..." and click Next

Wait until installation is complete

Once the key is ready, you can move on to the next step, to change your disk format from (MBR) to (GPT).
Disc format conversion
For this step, the USB key prepared in the previous step (2 - Preparation) must be plugged in.
Restart the machine and press the "F11" key on your keyboard as soon as the FRA-SYS logo appears to access the BOOT options.
In the window that appears, you should see your USB key 2 times.
Select the line "UEFI : Nom_De_Votre_Clé_USB" and press Enter.
(Note that selecting the line preceded by "USB : " will not work for the rest of the operations.


Press SHIFT + F10 simultaneously to open a command window.
In this window, perform the following operations:
Type diskpart
The command prompt displays DISKPART>.
Type list disk
Locate the disk number on which Windows is installed.
Type exit
Command prompt displays X:\Sources>
Type mbr2gpt /convert /disk:0

Look for the line "Conversion completed successfully".
If it appears, the operation is complete and you can move on to the next one.
If it doesn't appear, please contact us.
CSM settings
Restart your station to access the BIOS.
To do this, press the "SUPPR" key on your keyboard when the FRA-SYS logo appears. (You can press the key several times).
Once in the BIOS, click on the "Advanced Mode" tab at the top right to enter advanced configuration mode.
Select the "BOOT" menu at the top right, then access the "CSM" menu by clicking on the line at the bottom left.

In the CSM page, make sure that CSM is set to "Enabled" and that the status of the 3 lines "Launch PXE", "Launch Storage" and "Other PCI" are set to "UEFI Only". If some lines are set to "Legacy", click on the field and select "UEFI only".
Once the 3 parameters are in "UEFI Only" mode, press the "F10" key on your keyboard.
A confirmation window asks you to validate these modifications.
Click "Yes" to confirm and automatically restart the station.

You can now move on to the next step: "5 - Activation".
TPM / fTPM activation
The TPM (Trusted Platform Module) is a security chip that stores sensitive data (encryption keys, passwords) and verifies system integrity at startup. Used for functions such as BitLocker or required by Windows 11.
The way to activate this module sometimes differs greatly from one motherboard to another.
Restart your station to access the BIOS.
To do this, press the "SUPPR" key on your keyboard when the FRA-SYS logo appears. (You can press the key several times).
To begin with, check which motherboard model your workstation is equipped with.
The name of the motherboard can be found on the main page when accessing the BIOS.
(If you are in advanced configuration mode, click on "Easy mode" in the top right-hand corner to return to this page).
Return to advanced configuration mode by clicking on the "Advanced Mode" tab in the top right-hand corner.
Then follow the steps below, depending on your motherboard model.
B550 PG Velocita
B550 Phantom Gaming 4
Advanced" tab > "CPU Configuration" menu > "AMD fTPM switch" option > Status = "Enable".
B760i Lightning WIFI
Z690M-ITX
Z690 Phantom Gaming 4
Z790 PG Lightning
W790 WS
WRX80 Creator
WRX90 WS EVO
Advanced" tab > "Trusted Computing" menu > "Security Device Support" option > Status = "Enable".
Advanced" tab > "Trusted Computing" menu > "Device Select" option > Status = "TPM 2.0".
Z370 Gaming K6
Z390 Pro4
Z390 Phantom Gaming 4/5/6
Z490 Pro4
Z490 PG Velocita
Z490 Phantom Gaming 4
Z590 PG Velocita
x299 Creator
X299 Taichi CLX
X299 Taichi XE
Security" tab > "Intel Plateform Trust Technology" option > Status = "Enable".
X13SWA-TF
Advanced" menu > "PCH-FW Configuration" menu > "PTT Configuration" menu > "TPM Device Selection" option > Change status from "dTPM" to "PTT".
If you cannot find your motherboard model in the list
You can now switch off your station, remove the USB key and start up normally.
Check with the "PC Integrity Check" utility that the station is now compatible with Windows 11 and proceed with the upgrade.
If the "PC Integrity Check" utility still indicates incompatibility with Windows 11, please contact us.